Jenkins Setup (Docker Container)
After doing some additional reading, it seems to make more sense to install Jenkins in a container. This way, it will be portable and by committing any changes to a custom image, I won’t need to redo any specific plugins or customizations as they will all be there in the container.
We’ll install the the containerized Docker jenkinsci/blueocean image as it has the ability to spin up other docker containers and run tests.
Warning
jenkinsci/blueocean containers need to be brought up with the user ‘root’ in order to spin up other test docker containers. Currently looking for workaround for this.
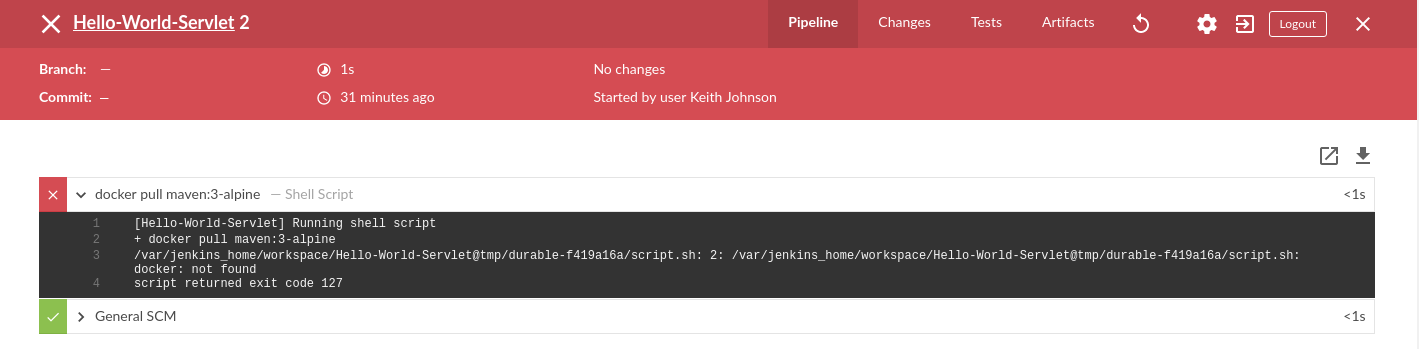
I would prefer running with the jenkins/jenkins image but even with the user set as root on its container and a volume set to get to ‘/var/run/docker.sock’, it’s not able to find docker and the resulting pipeline fails.
So to start, we’ll run the Jenkins in non-detached mode to make sure everything is working.
docker run -p 8080:8080 -p 50000:50000 --name Jenkins_Master -v jenkins_home:/var/jenkins_home jenkins/jenkins:lts
Configuring Jenkins
Now you can check out the running instance in your browser at localhost:8080
The first time, you’ll be presented with a setup window which will prompt you for a password.
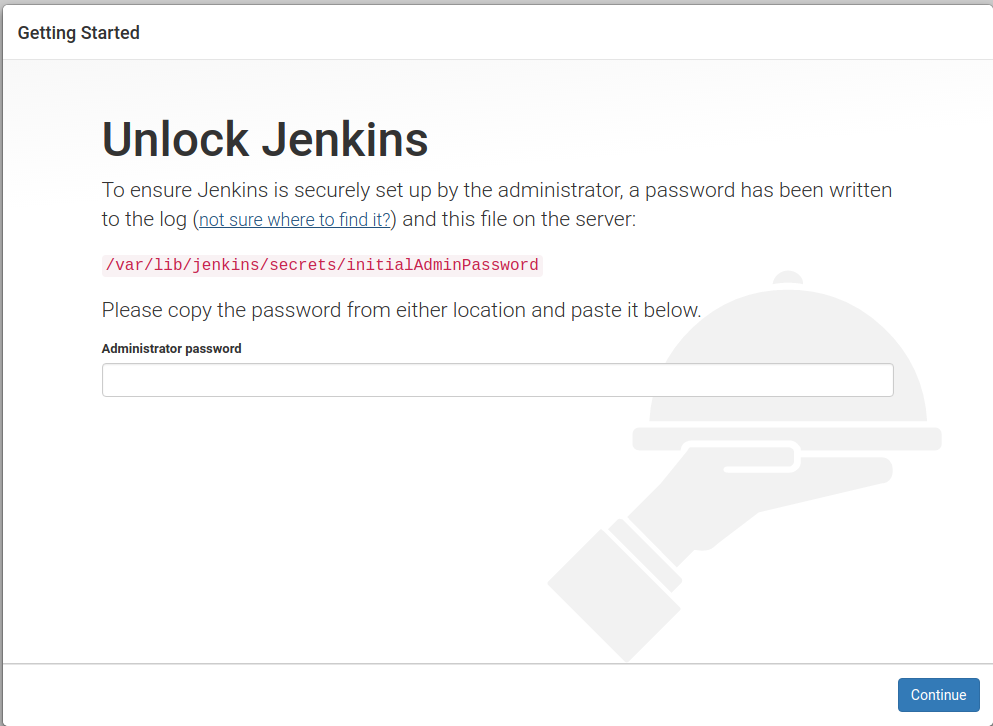
As indicated in the dialog, you can either find the initial password in the official Jenkins log file at /var/log/jenkins/jenkins.log or at the location mentioned in the dialog - /var/lib/jenkins/secrets/initialAdminPassword.
Next you’ll be prompted to install plugins. I selected the Install Suggested Plugins option. Next you’ll be prompted to create the first admin account. Finally, you’ll be at the main Jenkins page.
Blue Ocean Plugin
Of course, this option didn’t install the BlueOcean plugin so we need to do this next. Details for this are pulled from the Jenkins.io Getting Started with Blue Ocean page.
To install the Blue Ocean suite of plugins to your Jenkins instance:
If required, ensure you are logged in to Jenkins (as a user with the Admin permission).
From the Jenkins home page (i.e. the Dashboard of the Jenkins classic UI), click Manage Jenkins on the left and then Manage Plugins in the center.
Click the Available tab and type blue ocean into the Filter text box, which filters the list of plugins to those whose name and/or description contains the words “blue” and “ocean”.
Select the Blue Ocean plugin’s check box near the top of the the Install column and then click either the Download now and install after restart button (recommended) or the Install without restart button at the the end of the page.
Note
There is no need to select the check boxes of the other plugins in this filtered list because the main Blue Ocean plugin has other plugin dependencies (constituting the Blue Ocean suite of plugins) which will automatically be selected and installed when you click one of these “Install” buttons.
If you chose the Install without restart button, you may need to restart Jenkins in order to gain full Blue Ocean functionality.
Configure to Run in Docker-Compose
Once the setup has been confirmed, we need to add the setup to our docker-compose.yaml file. Here are the updates. Just add this inside the ‘services:’ block.
jenkins:
  image: jenkinsci/blueocean
  ports:
    - "50000:5000"
    - "8080:8080"
  volumes:
    - jenkins_home:/var/jenkins_home
    - /home/hirosh7:/home
    - /var/run/docker.sock:/var/run/docker.sock
  container_name: Jenkins_Master
That should do it.