Errbot Setup
To experiment with ChatOps capabilities, we’ll install the Python based Errbot Chatbot.
Details are pulled from here. Good news is that Python 3 is already installed on the server (v 3.6.3) so we can just proceed with the Errbot specific install requirements.
Rather than following the instructions to install and setup Errbot via the command line, I set up a new Python 3.6 ‘Chatbot’ Pycharm project as follows:
Create new 3.6 virtual env project (‘Chatbot’)
Add errbot package to environment
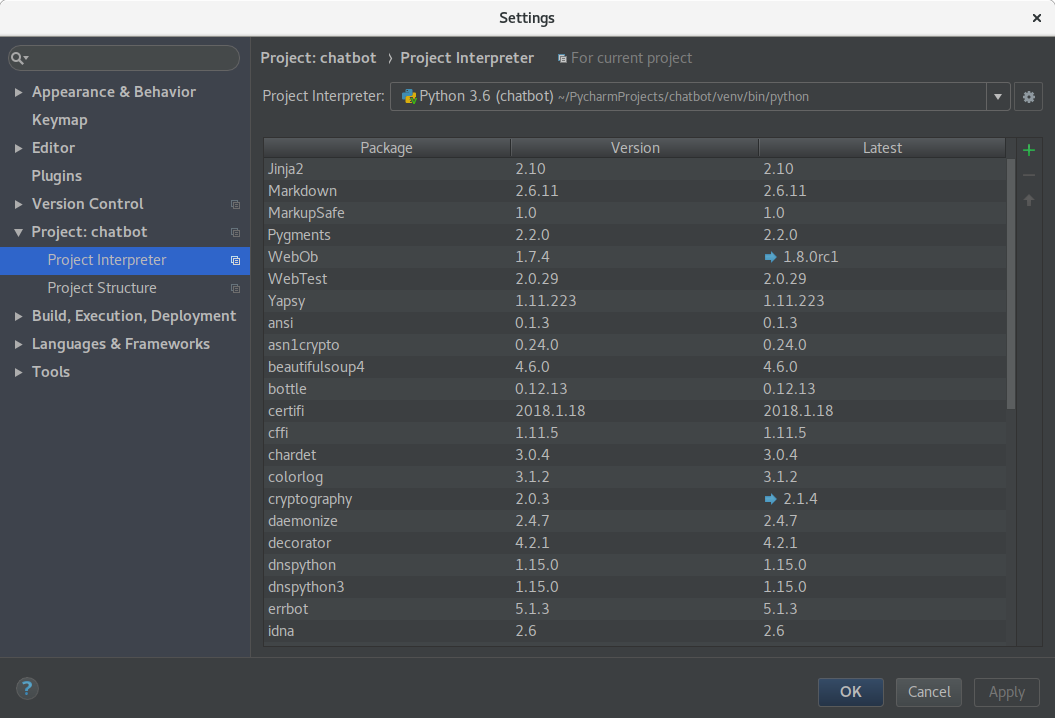
As you can see, installing errbot pulls in a bunch of other packages (which is why it’s good to do this in a virtualenv!)
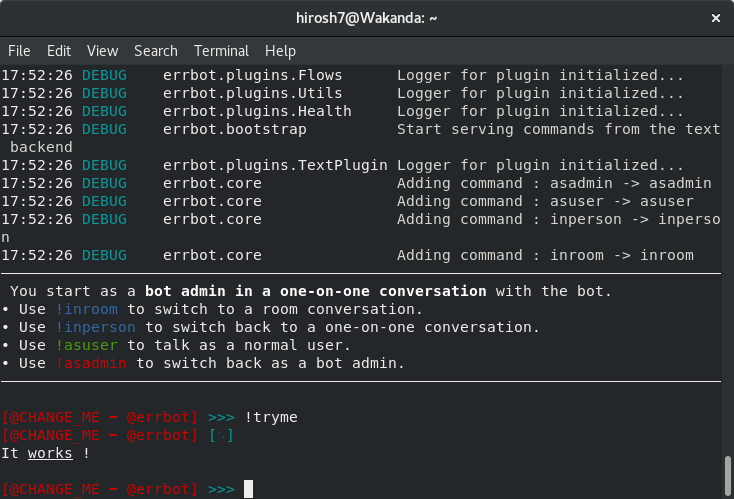
You can now open a terminal window and source to the chatops virtualenv directory and run a test command.
# Switch to chatops virtualenv
cd /home/hirosh7/PycharmProjects/chatbot
source /home/hirosh7/PycharmProjects/chatbot/venv/bin/activate

# start errbot in interactive mode
errbot

# run !tryme command
>>> !tryme
Note
You need to hit the ‘enter’ key twice after entering the ‘!*’ command at the errbot prompt in interactive mode go get the requested action to occur.
To exit out of the virtualenv when you’re done testing
# Exit from Errbot
<ctrl-c>

# Exit chatops virtualenv
deactivate
Customizing and Extending Errbot
Two things we’ll want to do - 1) create plugins for our desired actions and 2) connect to our secops_sandbox Slack channel. Before that though we should do the recommended customization to the ‘config.py’ file.
There’s a ‘config-template.py’ file that has all the details of what can be configured. You’ll note the the initial config.py file set up by the ‘errbot –init’ command is pretty bare-bones so we’ll pull in additional updates from the ‘config-template.py’ file. You can find this file in the Pycharm Project window under venv->lib->site-packages->errbot->config-template.py
Based on the instructions, these are the attributes you absolutely need to change in your ‘config.py’ file. Others you can do later on:
Check or change BOT_DATA_DIR. This is the directory where the bot will store configuration data. Confirm that this is set to: /home/hirosh7/PycharmProjects/chatbot/data (or similar in your environment)
Check or change BOT_LOG_FILE to be sure it point to a writeable directory on your system
Once our errbot is working well, we’ll probably also want to change BOT_LOG_LEVEL to something other than debug to keep the log file from flooding.
The final configuration we must do is setting up a correct BACKEND which is set to Text by ‘errbot –init’ but you can change to the name of the chat system you want to connect to. We’ll set this to ‘Slack’ and subsequently follow the set up details for the Slack Backend Configuration when done here
As part of this we’ll need to set the BOT_IDENTITY entry to set the credentials Errbot will use to connect to the chat system
We’ll also need to change BOT_ADMINS as part of this process given the comment says, ‘# !! Don’t leave that to “@CHANGE_ME” if you connect your errbot to a chat system !!’ :-)
Slack Backend Configuration
We start with installing the python ‘slackclient’ in our project. Add to the project interpreter setting via the Pycharm settings option. Alternatively, at the project command line
pip install slackclient
Next we need to add the bot integration to Slack. This link will take you to a page similar to the following:
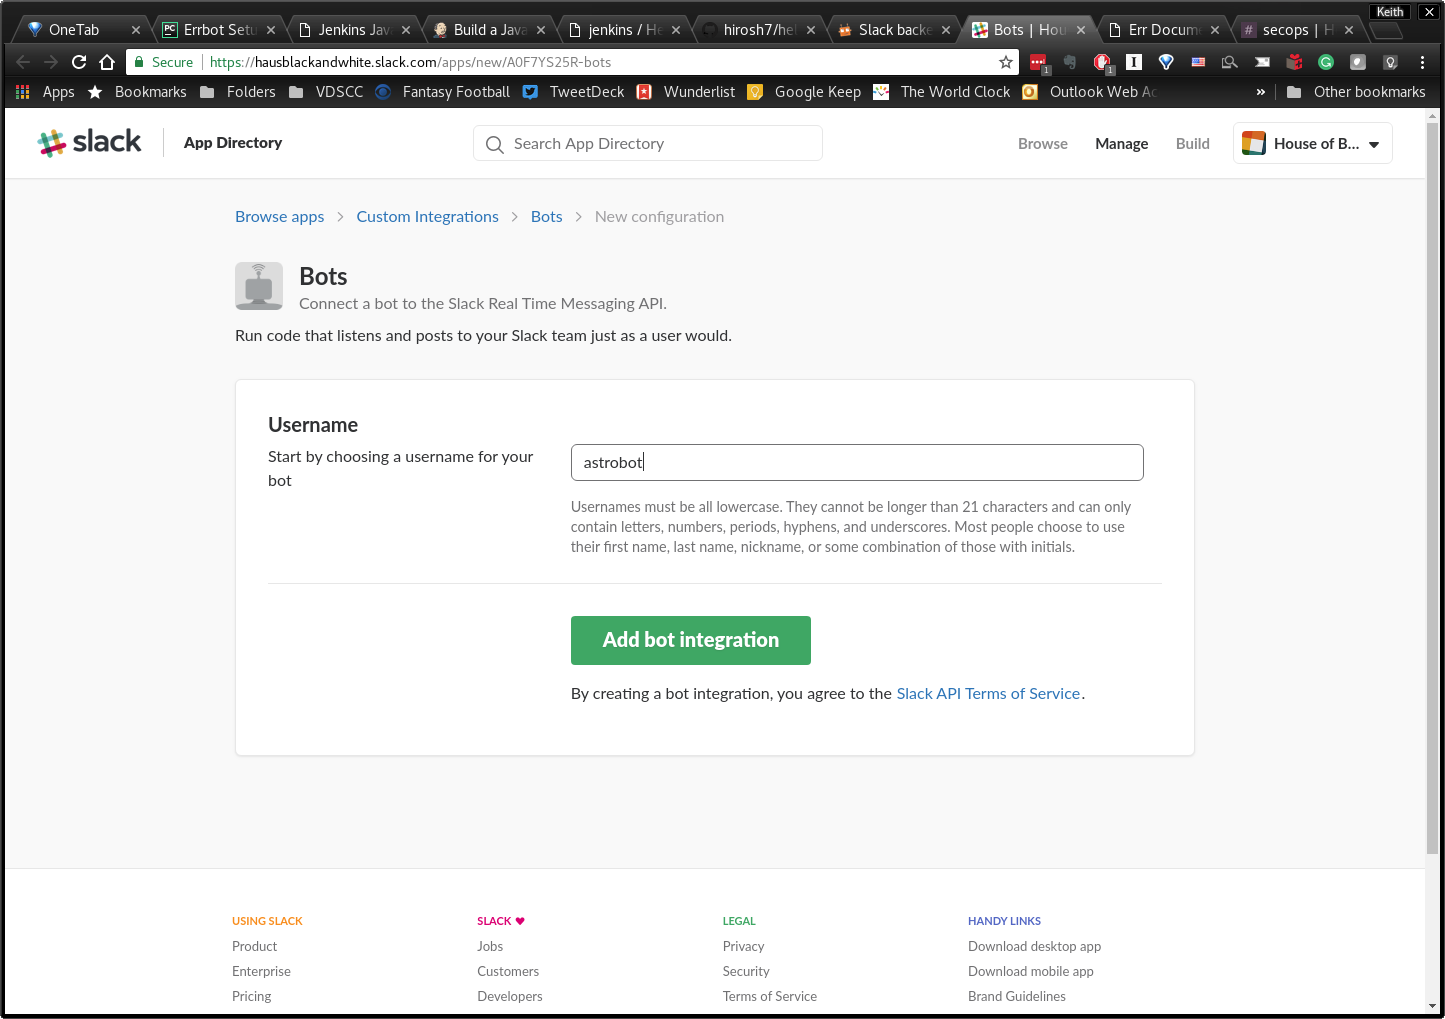
Click the ‘Add Bot Integration’ button and that will take you to the bot settings page where you can capture your bot token and add bot customizations like adding an image and description.
Update the bot project config.py file to include a valid admin and the token similar to the following:
BOT_IDENTITY = {
 'token': 'xoxb-4426949411-aEM7...',
}

BOT_ADMINS = ('@hirosh7')
To enable using the bot’s name in BOT_ALT_PREFIXES for @mentions in Slack, simply add the bot’s name as follows:
BOT_ALT_PREFIXES = ('@astrobot',)
Tip
If you’re using a bot account you should set CHATROOM_PRESENCE = (). Bot accounts on Slack are not allowed to join/leave channels on their own (they must be invited by a user instead) so having any rooms setup in CHATROOM_PRESENCE will result in an error.
If you are using a regular user account for the bot then you can set CHATROOM_PRESENCE to a list of channels and groups to join.
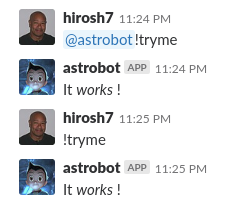
Now run errbot again as described above in a terminal window. Back in your Slack channel (e.g. #secops), click the ‘invite others to this channel’ link and add ‘@astrobot’. Now try sending a message to @astrobot in the channel (e.g. !tryme). Back in the terminal window, you’ll see debug log messages indicate that the message successfully arrived at the errbot daemon, then you’ll also see the response show up in the Slack window.
Note
You can also run the command and get a response in Slack by using the prefix format (e.g. !tryme vs. @astroboy !tryme). In this case, there’s no need to set the BOT_ALT_PREFIXES variable, but personally it makes the experience more personal with the alternative prefix.
Additional Configurations
PySide
For better local testing, the documentation mentions installing PySide. In order to do that you first have to install cmake
sudo apt install cmake
Then install qmake. Details for that are found in this install doc
Once that’s installed, now you can run
sudo pip install pyside
Although PySide seemed to install successfully, when I run the command
pip install errbot[graphic]
I get the following error message:
Complete output from command python setup.py egg_info:
only these python versions are supported: [(2, 6), (2, 7), (3, 2), (3, 3), (3, 4)]

----------------------------------------
Command "python setup.py egg_info" failed with error code 1 in /tmp/pip-build-li6req9x/PySide/
Unfortunately, I’m running 2.7.14 and 3.6 so I may be out of luck. I’ll follow this up later
Helpful Errbot Commands
# You can have your bot display the same list of repos by issuing:
!repos

# Searching can be done by specifying one or more keywords, for example:
!repos search hello

# To install a plugin from the list, issue:
!repos install <name of plugin>

# If you’re unhappy with a plugin and no longer want it, you can always uninstall a plugin again with:
!repos uninstall <plugin>

# You will probably also want to update your plugins periodically
!repos update all
Creating and Installing Plugins
I installed a jenkins CI errbot plugin from https://github.com/membrive/err-jenkins. I was unable to install it directly via errbot (e.g. !repos install https://github.com/membrive/err-jenkins) so I did git clone in the chatbot plugins directory
git clone https://github.com/membrive/err-jenkins
It turns our that there’s an error with the __init__() override method. The original is
def __init__(self, bot):
  self.jenkins = Jenkins(JENKINS_URL, JENKINS_USERNAME, JENKINS_PASSWORD)
  super().__init__(bot)
but for this to work, I had to update this to
def __init__(self, bot, name=None):
  self.jenkins = Jenkins(JENKINS_URL, JENKINS_USERNAME, JENKINS_PASSWORD)
  super().__init__(bot, name)
This may be due to updates in errbot. At any rate, this change allows the plugin to init successfully and when I executed
!jenkins list
in Slack, it successfully retrieved the configured jobs and listed them.
Note
For this to work, you need to populate the environment variable JENKINS_URL, JENKINS_USERNAME and JENKINS_PASSWORD in the errbot config.py file